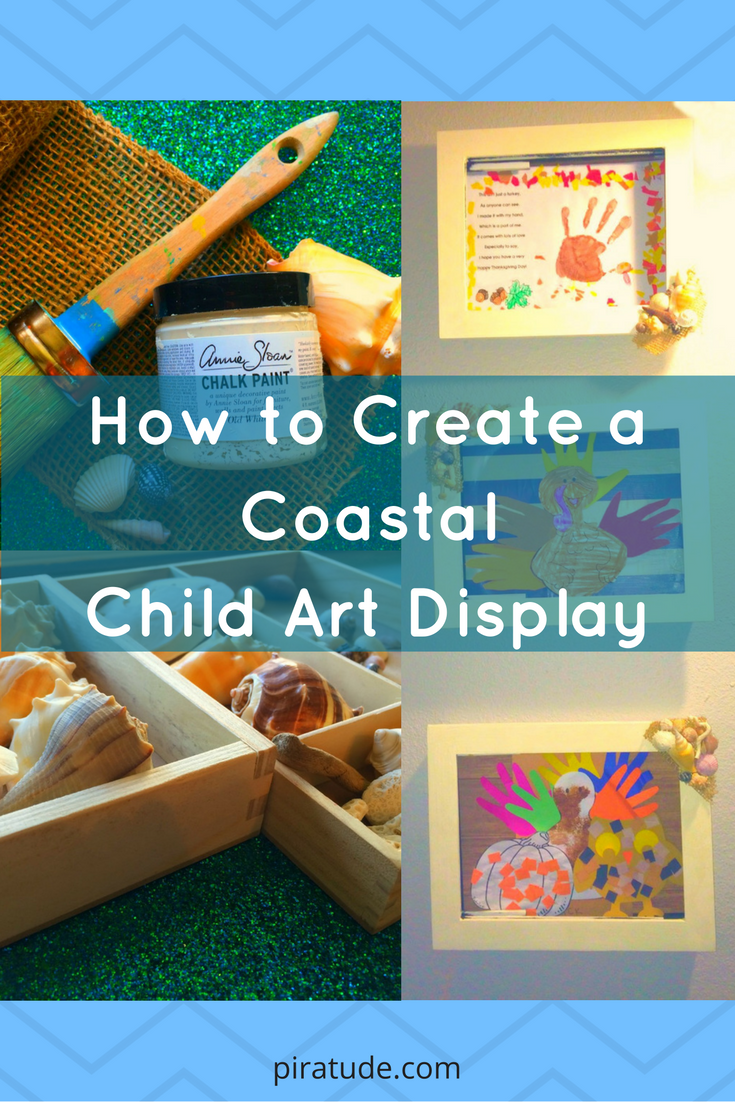
How to Create a Coastal Child Art Display
My children are artists – prolific artists. I am a material witness to this every time I open their backpacks after school. Each day, pages upon pages of colorful construction paper masterpieces practically explode out of their bags. The refrigerator magnets can only hold so many sheets of glittered card stock and coloring pages of dot art. To combat this art gallery space issue, I decided to create a coastal child art display on my family room wall. It would both fit into the theme of my home and corral some of my treasured and curated pieces of art.
Coastal Child Art Display
I received three Easy Change Artwork Frames from my mother-in-law two Christmases ago. As we were in the middle of moving homes at the time, I hastily stuffed them in a box. Having just recently uncovered the frames, I decided the moment was right to put them to use on my wall.
Displaying child art at home is such a great way to create a warm and friendly atmosphere in the family room or play room.
The only problem with these particular art frames is that they are black.

Photo Courtesy of Amazon.com
The style did not fit with the colorful coastal decor in my space. It was time to get crafty!
[This post contains affiliate links see more information here]
Supplies for Art Display
- Child Artwork Frame(s)
- Chalk Paint
- Paint Brush
- Foam Brushes
- Mod Podge
- Coastal Scrapbook Paper
- Shells (various sizes)
- Hot Glue Gun
- Craft Fish Netting or Burlap Ribbon
Steps to Creating a Child Art Display
Step 1 – Remove plastic framing from Child Artwork Frame
The Child Artwork Display comes with a plastic frame cover and a paper matte. I removed both of these to make it easier to paint and design.
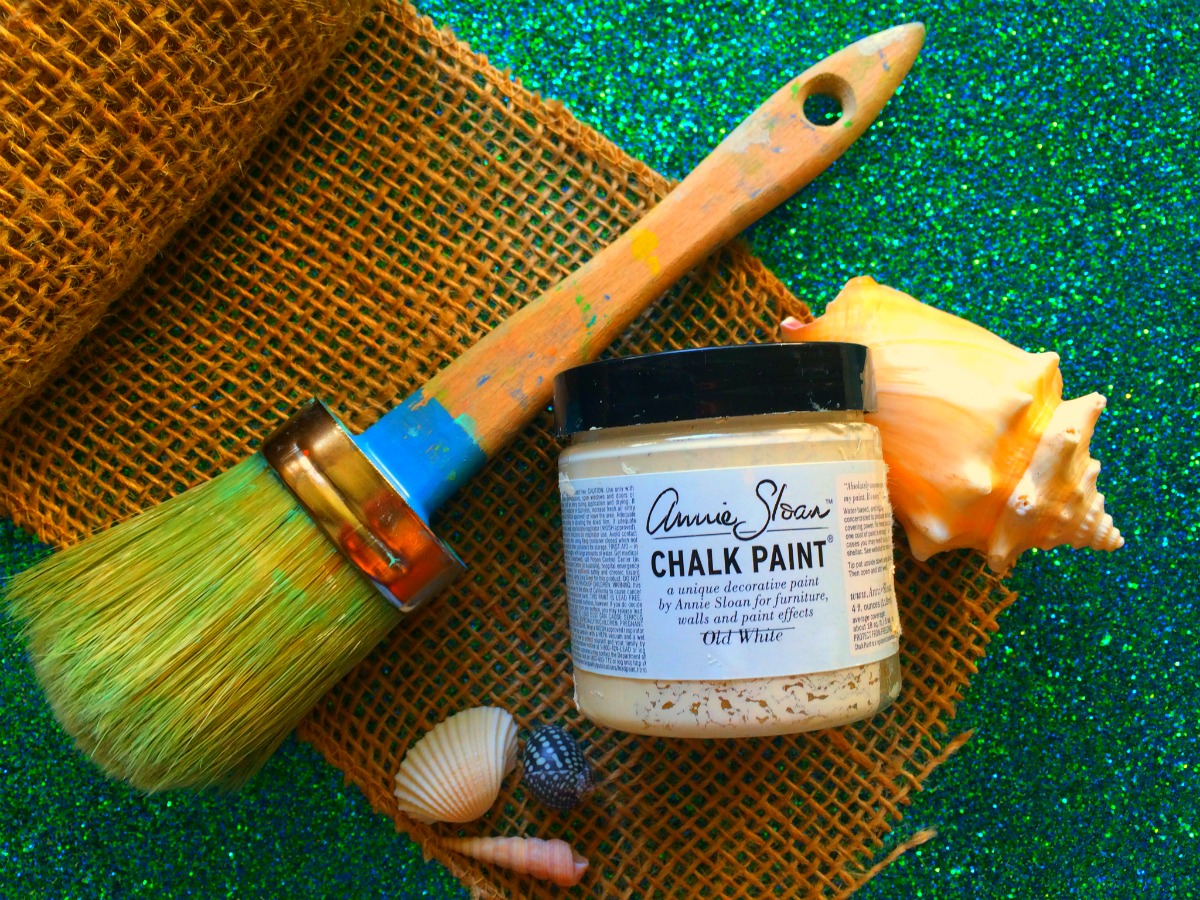
Step 2 – Paint the Child Artwork Frame
I love using chalk paint because there is no need to sand down the surface before painting. Additionally, and maybe most importantly, you can paint directly onto particle board or IKEA-type products (i.e. not hard wood).
My preferred chalk paint is Annie Sloan but you can really use anything easy to find in your area. Martha Stewart even has a line of chalk paints. I used Annie Sloan “Old White” for this project.
I brushed my chalk paint directly onto the surface of the child art frame using the bristle brush. It took about two coats of paint and I decided not to distress it. Since the frames are for kid art, I did not feel that it needed a weathered and worn look.
If you are familiar with chalk paint, you know that the next step (after letting it dry) is to rub finishing wax on the surface to protect the paint. I’ll admit that I skipped this part for this project. With furniture and larger pieces, I always rub in the wax but since this art piece will not be touched very often I saved myself a bit of time and effort by skipping this step.
Step 3 – Mod Podge Coastal Scrapbook Backdrop to Frame
I first cut my coastal scrapbook paper to fit inside each frame. I used a wood-grained looking piece for two of the art displays and a nautical navy stripe page for the third frame.
Grabbing my Mod Podge, I coated the inside of the frame with the glue using a medium foam brush. I then placed the scrapbook paper inside and attached it to the frame.
To waterproof the design, I added a thin layer of Mod Podge on top of the scrapbook paper and allowed to dry.
Step 4 – Decorate Frame with Coastal Elements
Now for the fun part. Grab your hot glue gun, shells, and burlap ribbon.
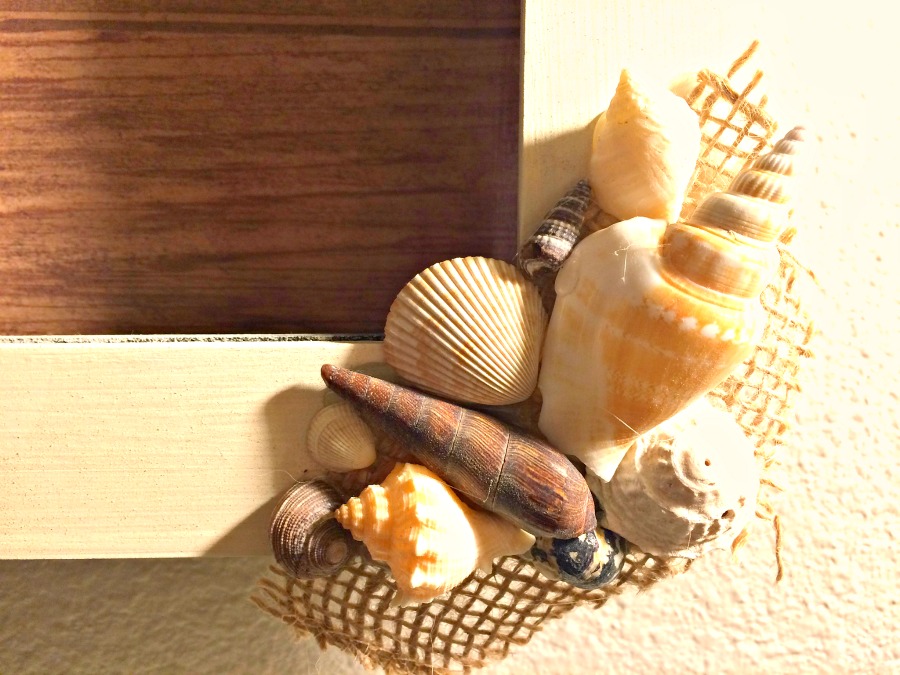
I chose burlap ribbon for my design on the coastal frames (mainly because I already had it in my stash). Next, I fastened the burlap ribbon to the frame with hot glue to set the base. I only placed a bit of burlap on one side of each of the frames but feel free to do whatever is pleasing to your eye.
I then hot glued shells on top of the burlap, starting with the largest shells first.
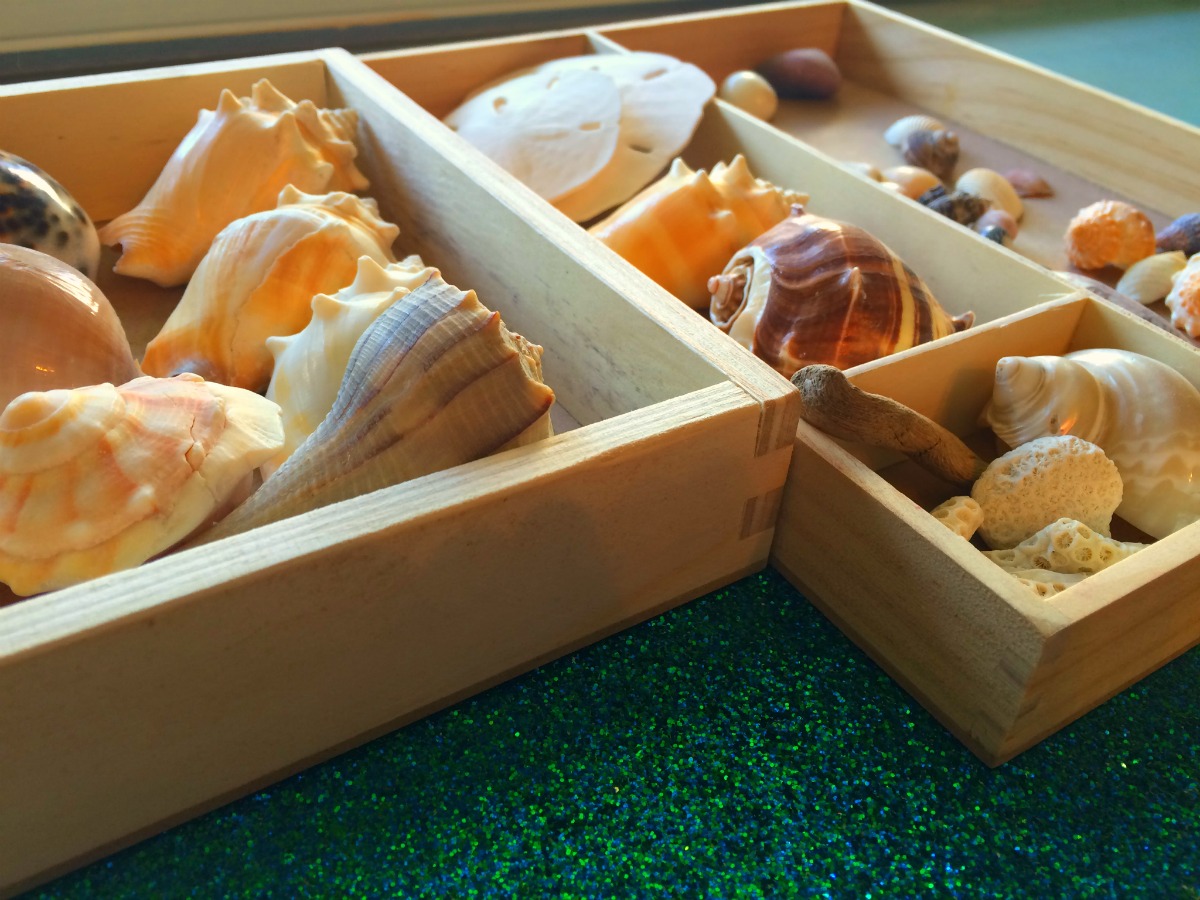
After placing my large shells on all three frames, I sorted through the medium shells and added those to the design until I achieved the desired look and feel.
Finally, I placed a few tiny shells throughout the design on all three coastal frames.
Step 5 – Attach Coastal Child Art Display(s) to Wall
I chose to skip adding the plastic frame covers back on to the art displays because I wanted super easy access to change out the designs (and I hate dusting glass on frames).
I put the display on the walls with 3M Command Strips (I HEART those amazing things). Stand back and congratulate yourself on being an amazing mom.
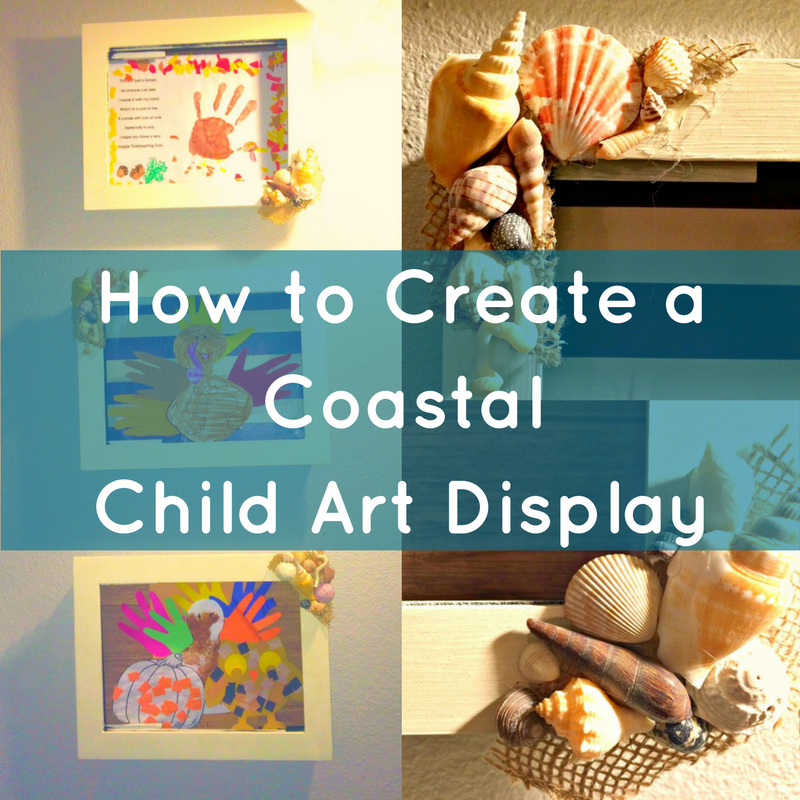
An easy craft to change any basic frame into a coastal masterpiece that will fit in your home decor and display those adorable hand-print Thanksgiving turkeys for all your guests.
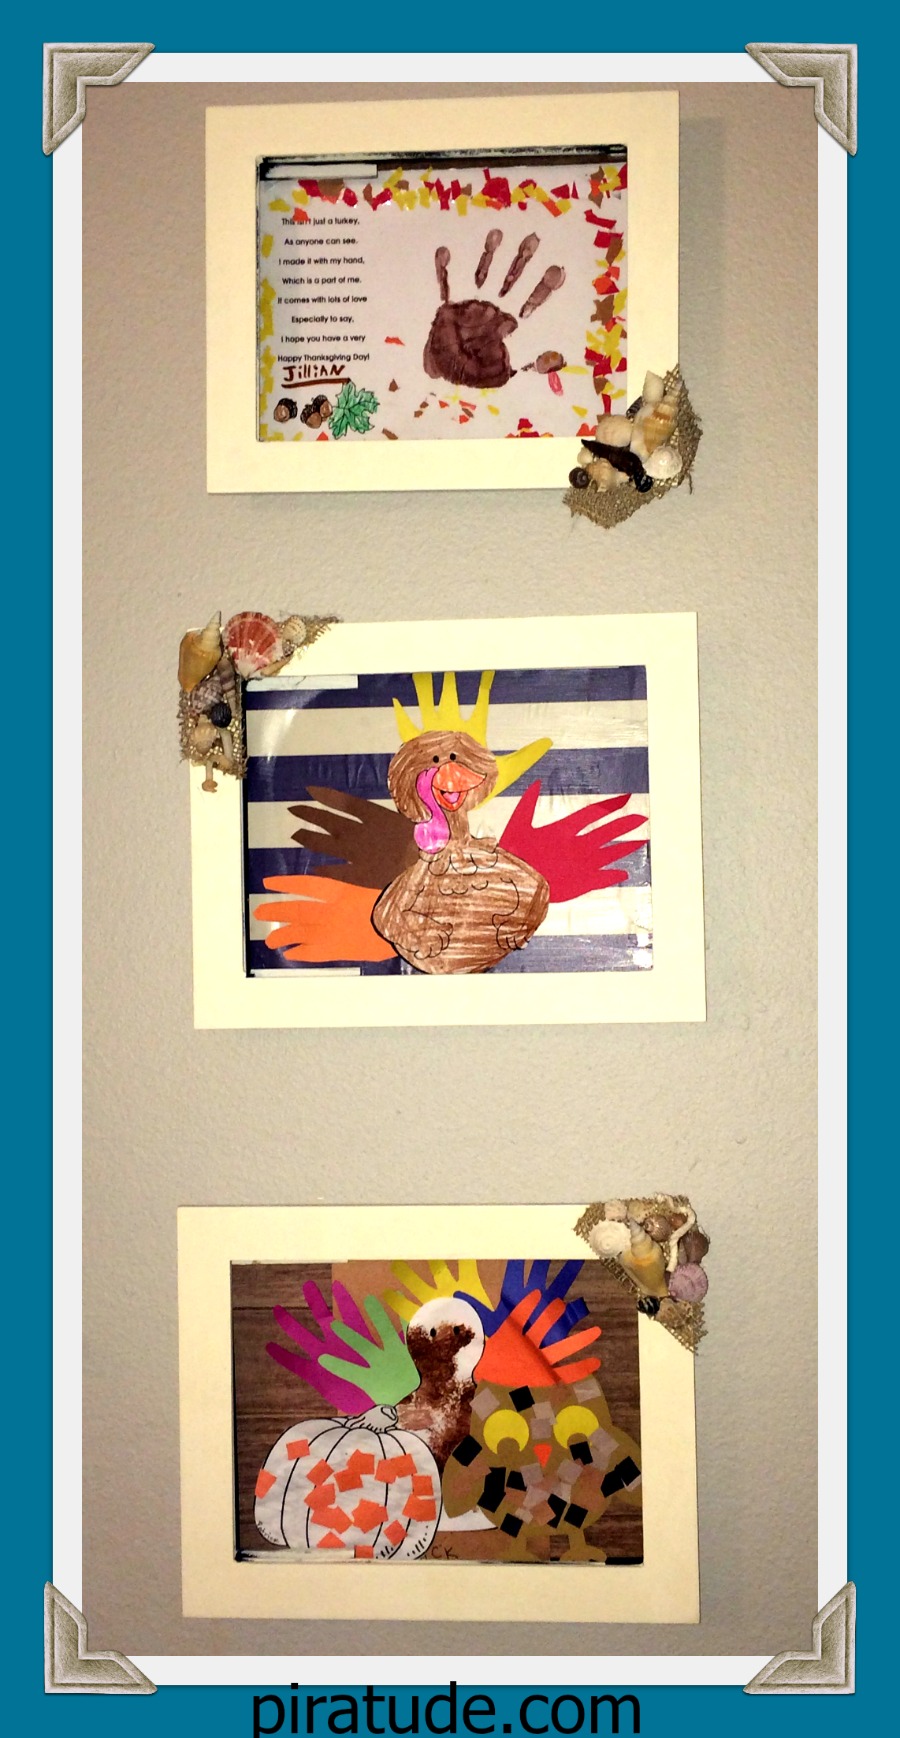
Thanks for letting me share with you how I transformed a boring black-framed child art display into a fun and functional coastal kid-artwork gallery.
Are you ready to try this on a frame at home? Comment below and share your creations with me.